
USER MANUAL AND TUNING GUIDE
THANK YOU FOR CHOOSING DIVINE ACOUSTICS ANTI-VIBRATION FEET!
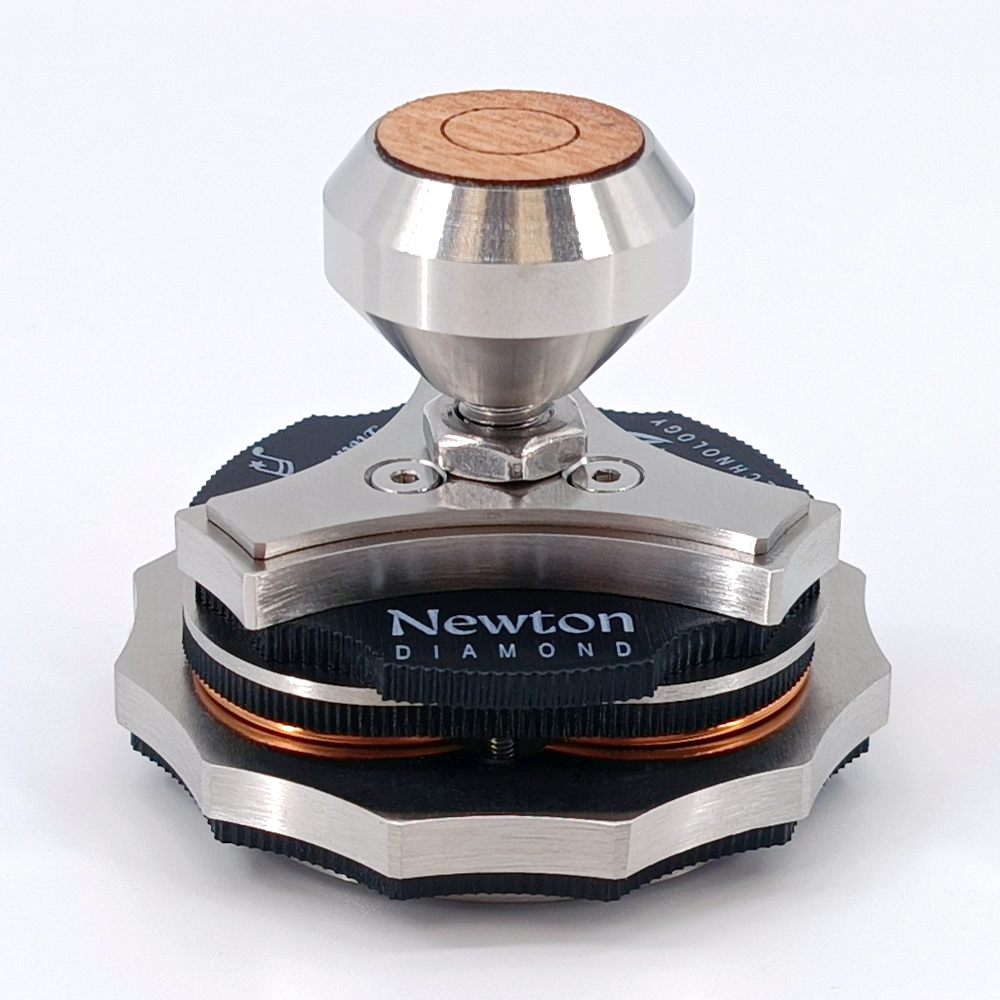
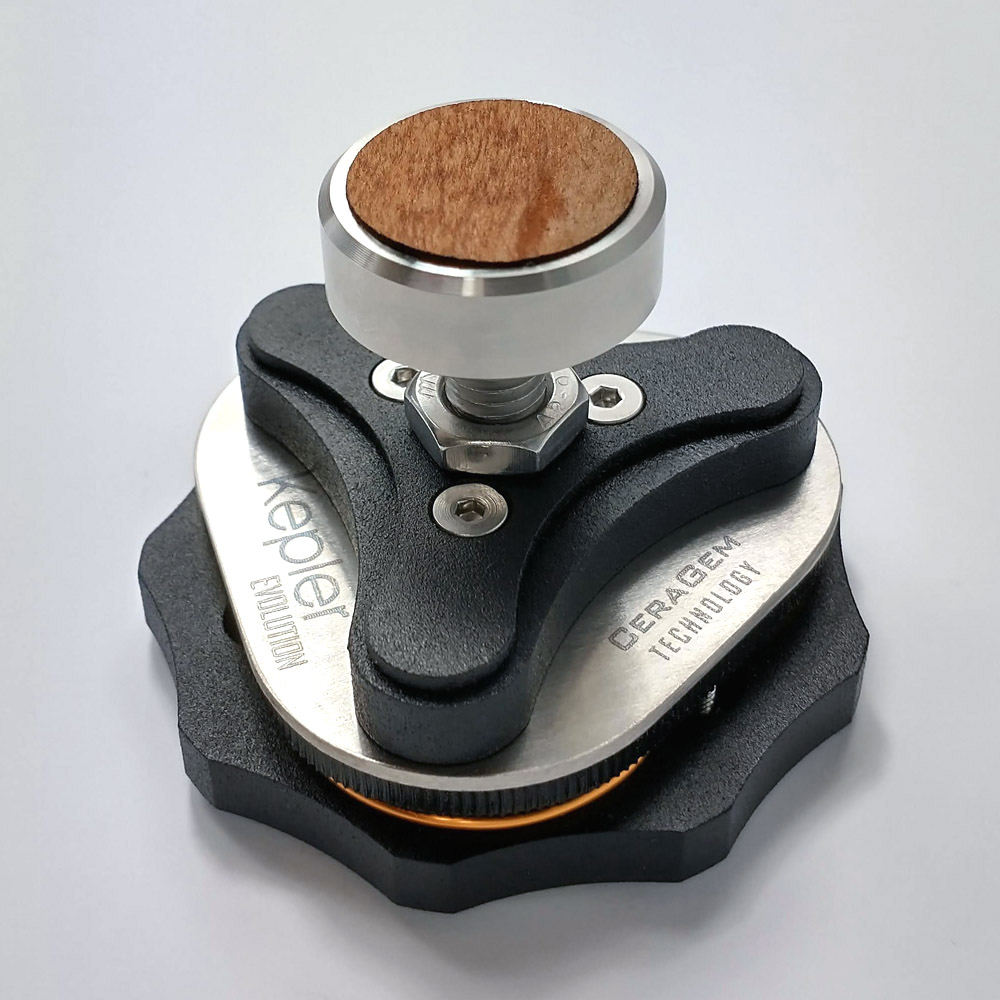
Kepler Evolution and Newton Diamond are much more than conventional anti-vibration feet.
In addition to effectively reducing micro-vibrations, they also allow precise tuning of the mechanical behavior of your specific audio component. By adjusting the height and freely selecting the support points, you can influence not only the level of vibration isolation but also the way in which enclosure resonances are controlled.
Every audio component has a different design, weight, and resonance distribution. For this reason, there is no single foot placement that provides the best results for every device.
Spending just a few minutes optimizing the foot placement and adjusting their height can produce significantly better results than a random setup. In high-resolution audio systems, these differences are often surprisingly easy to hear.
The following chapters explain both the basic installation procedure and how to take full advantage of the Kepler Evolution and Newton Diamond systems.
quick start
If you would like to begin listening as quickly as possible, simply follow these four steps.
1. LOCK THE THREADED SHAFT
Before placing the component on the feet, tighten the lock nut using the supplied wrench.
This protects the internal damping mechanism from damage during installation.
2. POSITION THE audio device or speakers
Place the feet under the component or install them in place of the factory-installed feet.
3. UNLOCK THE FOOT
Once the component is in position, loosen the lock nut.
The vibration damping system operates correctly only after the lock nut has been released.
4. ENJOY THE MUSIC
At this point, the feet are already operating at full performance.
SOUND OPTIMIZATION
Every audio component has a different design, weight, and resonance distribution.
For this reason, there is no single foot placement that provides the best results for every device.
Experimenting with different foot positions often results in a noticeable improvement in sound quality.
FOOT PLACEMENT
- Do not position the feet directly beneath the factory-installed feet.
- Try several different spacing configurations.
- Test positions closer to the power transformer as well as farther away from it.
- When using three feet, experiment with different triangular layouts.
- When using four feet, do not limit yourself to a rectangular arrangement.
Even small changes in position can alter the way resonances are controlled.
HEIGHT ADJUSTMENT
Kepler Evolution and Newton Diamond are designed for much more than simple leveling.
Adjusting the height of the threaded shaft also changes the foot’s resonant frequency, allowing its performance to be optimized for a specific audio component.
We recommend listening to several different settings and choosing the configuration that best matches your personal preferences.
PERMANENT INSTALLATION
After completely removing the upper lock nut, the threaded shaft can be screwed directly into the threaded inserts of loudspeakers or audio components.
In this configuration, the feet replace the factory-installed feet or loudspeaker spikes.
Available thread sizes are M6, M8 and M10. M4, M5, M12 and selected imperial threads are available upon request.
Level the component by rotating the entire foot.
TREAT THE SYSTEM AS A WHOLE
The greatest improvement is not always achieved in example under the amplifier.
In many systems, placing the feet under the CD player, transport or DAC provides a greater sonic improvement.
In other systems, the best location may be under the loudspeakers.
There is no single correct configuration—the best results are achieved through listening and selecting the location where the improvement in sound quality is most clearly audible.
IMPORTANT INFORMATION
Cleaning
Clean only with a soft, slightly damp cloth.
Do not use detergents or solvents.
Do not immerse the feet in water.
CLEARANCE BETWEEN THE LAYERS
A small amount of play between the layers is completely normal.
It is an intentional part of the design and essential for the proper operation of the foot.
After prolonged use under heavy components, the clearance may increase slightly. This does not affect the performance of the product.
DO NOT REMOVE THE BOTTOM SCREWS
The mounting screws are not intended for adjustment or for eliminating the clearance.
Attempting to loosen or remove them may damage the internal damping mechanism.